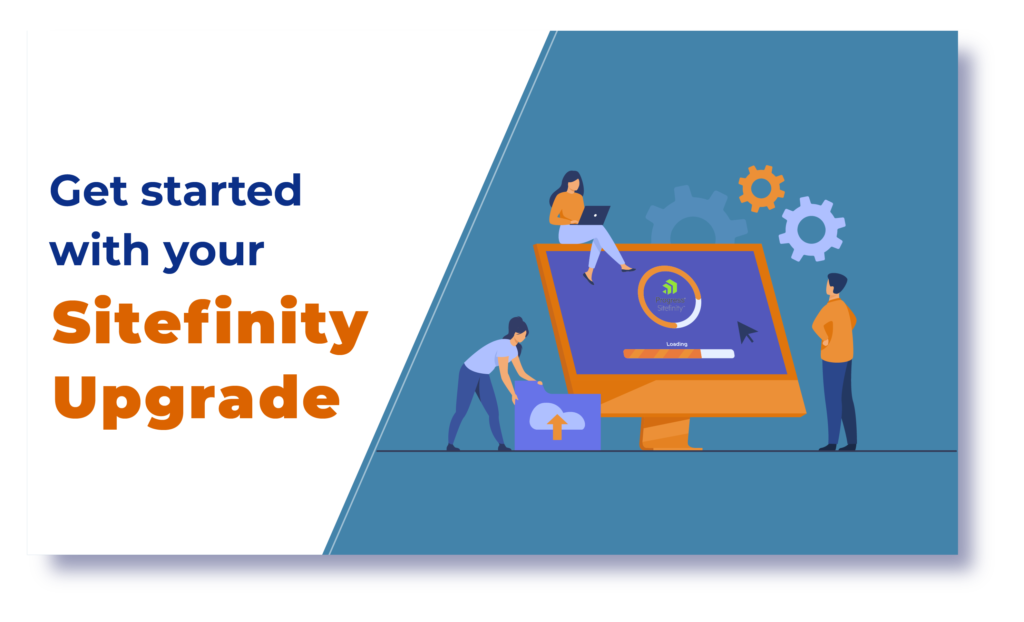
How to Plan and Prepare your Sitefinity Upgrade
Sitefinity is a platform that can be considered to be a new-age technology. It is one such Content Management System that will allow you to create as well as manage websites with great ease and efficiency. It not only makes the process of website development much smooth, but Sitefinity also ensures that the quality is not compromised.
Since Sitefinity as a CMS platform always strives to bring out its best to all its users, it is important to make the required upgrades in the right ways. In this article, we will be taking a look at how one can plan and prepare for your Sitefinity Upgradation.
Planning and Preparing your Sitefinity Upgradation
Before getting started with your upgradation, it is important to keep aside a dedicated amount of time for preparing the Upgrade Plan. It is quite crucial to have sufficient time for planning for the upgrade. It is also important to recognize certain elements that will be crucial in planning your upgrade. Factors like the project size, level of customization, automation, and so on might affect the time required to execute the process of upgrade.
Now let us take a look at how one can prepare for the upgrade through the below-given steps and procedures.
Prepare for the upgrade
- First things first, make sure you review the release notes of all major versions that fall between your current version and the targeted upgrade version.
- Review the database and API breaking changes between the versions. The Sitefinity upgrade log file (UpgradeTrace.log) reflects all changes applied to the database during the upgrade and their status.
- Check whether the target Sitefinity version is compatible with the .NET version running on the machine and install a new version if required.
- Create a new project with the target version locally and make a test deployment of the empty project on the target staging/test environment. Ensure the empty project deploys smoothly.
- Make sure you have all the required backups of the project files and the corresponding database. Sitefinity upgrade is a non-reversible process, thus having a backup from a point in time right before the upgrade is a must.
- Restore a copy of your website project and corresponding database, which will be upgraded, locally. Change all connection strings and make them point to a local copy of the database.
- Once the upgrade executes, the Sitefinity database is modified irreversibly, make sure your test project is not connected to the live database.
- Make sure that the pre-upgraded project builds and that it runs successfully on the local machine. Verify the healthy project state prior to the upgrade and isolate any pre-upgrade issues.
- Confirm an upgrade mechanism (Project Manager or NuGet packages).
- Stop the local site from IIS and empty the Sitefinity logs folder (~/App_Data/Sitefinity/Logs. It would be better if you have all logs generated from the time of the upgrade. This way you can identify more easily any upgrade or post-upgrade logged errors.
We will be looking at more procedures and steps regarding the Upgradation Process further in our blogs. Stay tuned if you want to learn more about the execution part of Sitefinity Upgradation.