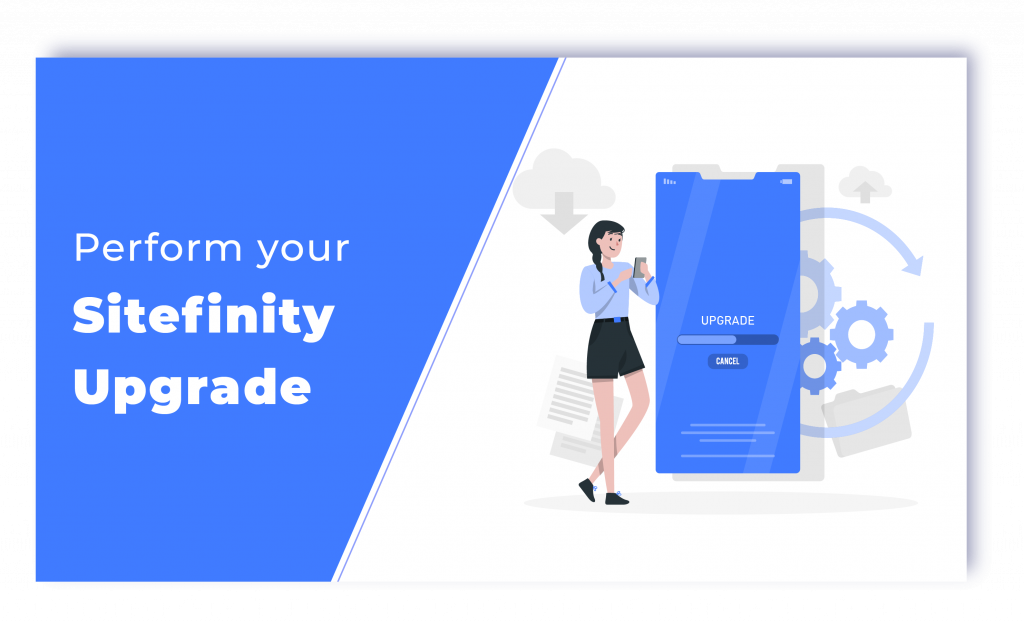
In our previous blog on How to Plan and Prepare your Sitefinity Upgrade, we did cover how you can get started with the process. We discussed how you should start with the planning, what things to look out for, and in how many ways you can prepare to execute the task of Upgradation. In this article, we will be discussing how you can perform the task of your Sitefinity Upgrade. Let us get started.
Perform the Upgrade
First things first, you should be aware of the fact that you will be using NuGet or Sitefinity Project Manager. This is to replace your Sitefinity compiled logic. Here, you can use the option of Sitefinity Project Manager Upgrade to directly replace what is existing in the .dll files in the /bin folder. This way you can replace the respective projects with brand-new ones.
For Solutions also you can Manage NuGet Packages. Now that all of that is set, you can proceed to the task of building your project. The .dll files in the /bin folder of your Sitefinity project will be replaced by Visual Studio and you can go on to modify the web. config.
Upgrading your Website
Sitefinity is known for its excellent automation capabilities. In the process of upgradation also, you will have this perk to benefit from. While you prepare for the process of your website upgradation, the Sitefinity NuGet packages will be adjusting the web. config through automation. In case you intend to perform an upgradation to any other version lesser than Sitefinity 11.0 then the modification will not happen and the changes will occur manually.
Now you can proceed to the task of adjusting the project references. Even this will happen automatically with Sitefinity NuGet packages. In case you have any API-breaking changes within your code you can address that. You will have to take notice of any changes within any of the APIs.
Verify and Apply
Now that you have started to build the project, make sure you verify that it gets built successfully. You can proceed to run your website to execute the upgraded scripts. When the Sitefinity Website starts to run with the upgrades, it will start to update its entry within the configuration files and the database. This is to indicate that the changes have been reflected and that the new version has started to take effect. You can now apply for the new license.
Stay tuned to read the final part of the Sitefinity Upgrade process where we will be discussing the last steps that include the process of testing and deployment of the updated project.